
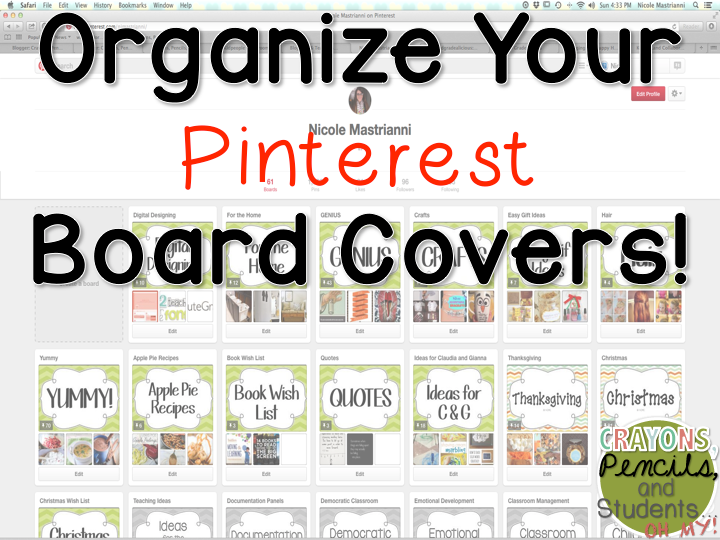
So I have been wanting to re-organize my Pinterest boards for a while now. The covers that I had made just weren't cutting it for me anymore and I had started several new boards that still needed covers so today I decided to overhaul all of them and start from scratch. This process took much longer than it had to though... I tried making these many different ways before I finally found the best way.
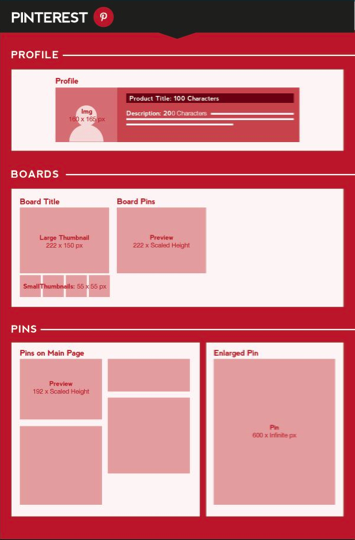
This is where I started. I found this wonderful pin with all the dimensions for many social media website. It is so helpful when designing aspects of your webpages!
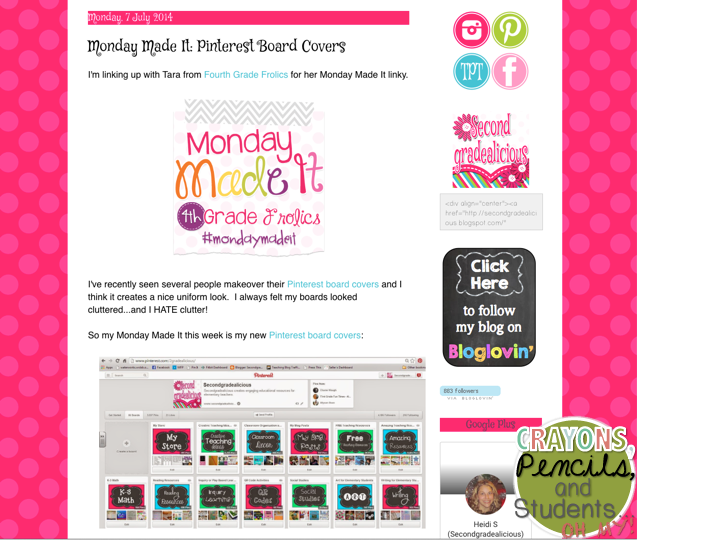
Now, I was planning on creating my images in Adobe Photoshop when I started but stumbled upon this lovely blog post before I got too far in!

This blog post saved me so much time! I started making my board covers in Powerepoint right away. It was so easy - all I had to do was size the slides to 4.7 in X 3 in and then go to town with the cute fonts, backgrounds, and borders.
I am going to stop here for a moment for a side note, because in addition to finding the wonderful blog post I also found a wonderful link party through 4th Grade Frolics - Monday Made It!

See my Monday Made It post HERE when it goes live 2/23!
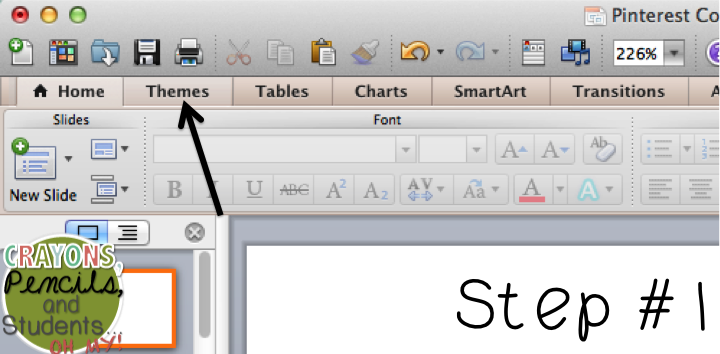
Okay, back to business! I am going to guide you through the steps for the creating the Pinterest boards via the photos below. It's super simple - feel free to ask any questions in the comments below and I will do my best to help you out.

Now, I do have one disclosure to make; this process takes FOREVER! It took me well over 2 hours to create all of them and then update the covers on my page. The good news is that once you do the overhaul uploading them will be quite simple and quick for new boards. My previous covers were made on PicMonkey (no way to save them in editable form) so it took much longer to create those for new boards and I quickly fell behind in my upkeep.
I did color code my boards to work for me mostly, but I also think that it will be helpful for my followers as well. Here's how I did it if you need some ideas:
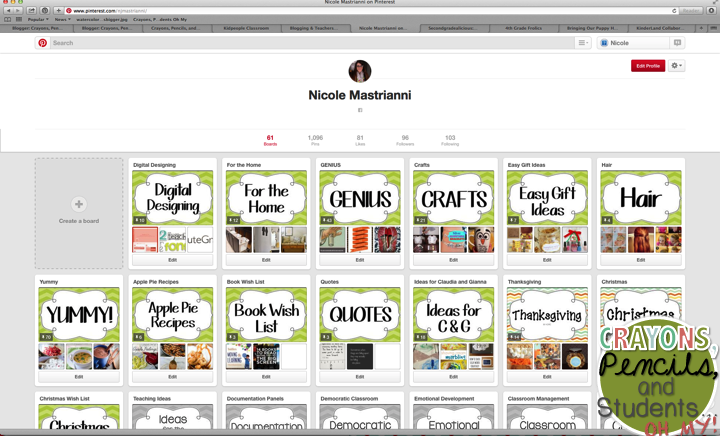
Check out the look of my Pinterest page now! It makes me smile :)
If you are interested stop over, follow some boards if you would like! I am always looking for new boards to follow - leave yours in your comment below!
Okay, back to business! I am going to guide you through the steps for the creating the Pinterest boards via the photos below. It's super simple - feel free to ask any questions in the comments below and I will do my best to help you out.
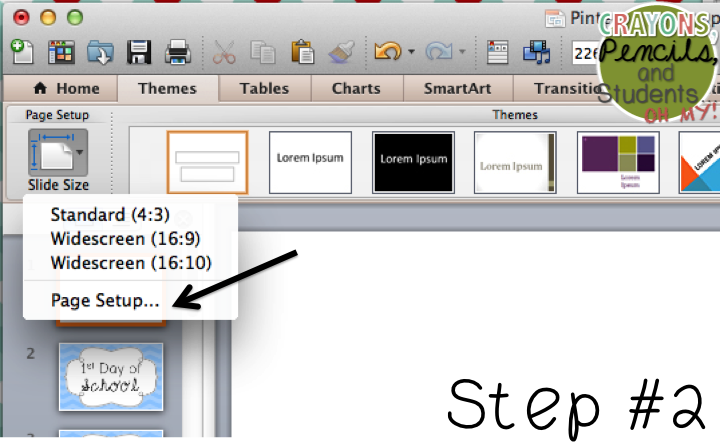
Click on Themes
Click on Slide Size, then Page Setup on the drop down menu.
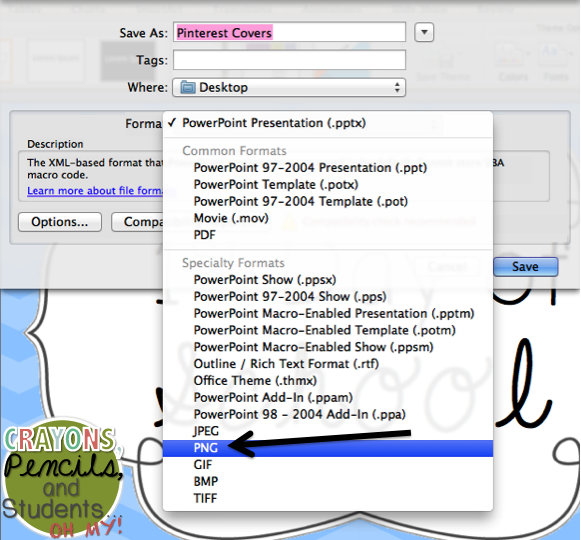
Click Save As, then choose PNG. Also save as a PowerPoint Presentation so you can go back and add covers for your new boards.
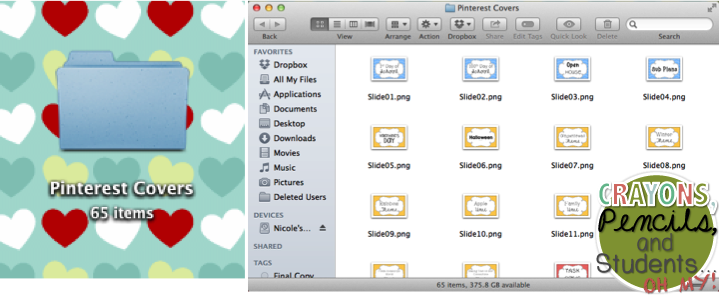
After you save it as a PNG file it will show up in a folder on your desktop and will look like this:
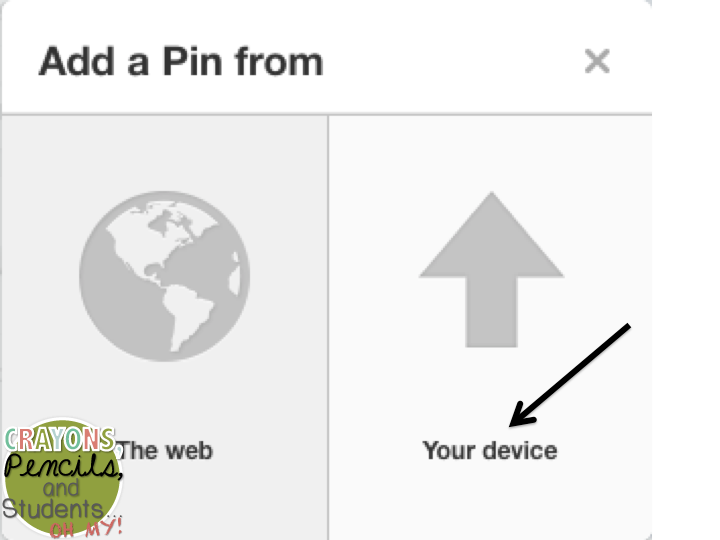
Next you need to log into your Pinterest account. Go to your boards and click on one. Click add new pin and this will pop up!
You need to click on your device. It will allow you to upload a photo. Choose the correct cover from the file that was create with the PNG images in it. Give it a description and go back to your main page.
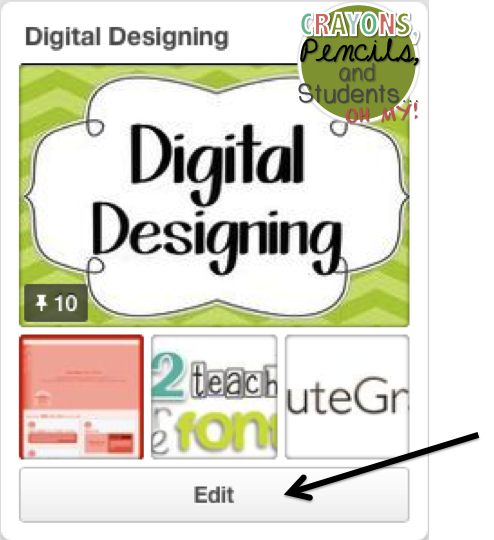
Click on the board you just added your cover to and then click on the edit button.
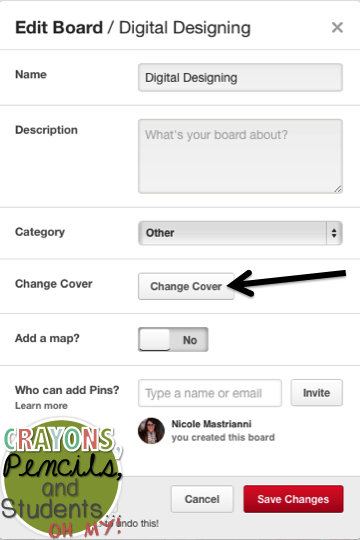
This page will pop up and you will need to click on Change Cover.
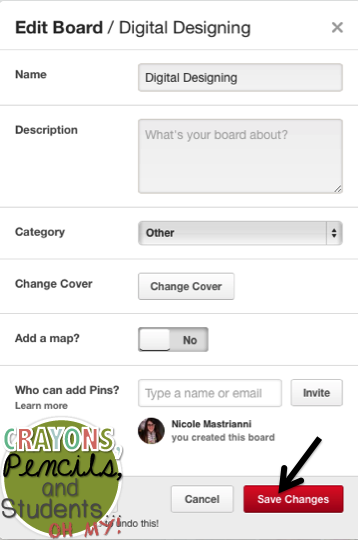
Choose your image you just added, then click save changes.
You will see this screen again, but this time you will click Save Changes. And that's it! Repeat the process for the rest of the boards you have.
Now, I do have one disclosure to make; this process takes FOREVER! It took me well over 2 hours to create all of them and then update the covers on my page. The good news is that once you do the overhaul uploading them will be quite simple and quick for new boards. My previous covers were made on PicMonkey (no way to save them in editable form) so it took much longer to create those for new boards and I quickly fell behind in my upkeep.
I did color code my boards to work for me mostly, but I also think that it will be helpful for my followers as well. Here's how I did it if you need some ideas:
Check out the look of my Pinterest page now! It makes me smile :)
If you are interested stop over, follow some boards if you would like! I am always looking for new boards to follow - leave yours in your comment below!

No comments:
Post a Comment