Friday, January 30, 2015

Five For Friday!


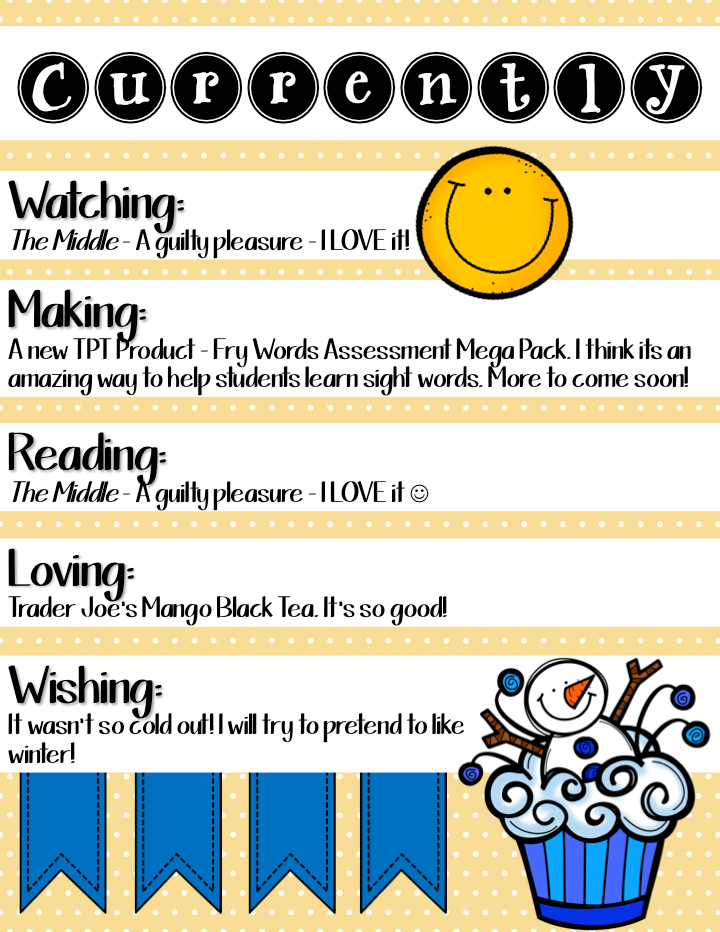
It's FINALLY Friday! This week I'm linking up with Doodle Bugs Teaching, and I am planning on making this an every week occurrence - so get ready!


SNOW DAY... just kidding :(

So Snowmageddon 2015 didn't make as big of a mess in my area as it was expected to. We were predicted to get 1 to 2 feet and we ended up with literally NOTHING - not a dusting - not an inch - absolutely no snow. A little disappointing but I guess it was better than being snowed in.

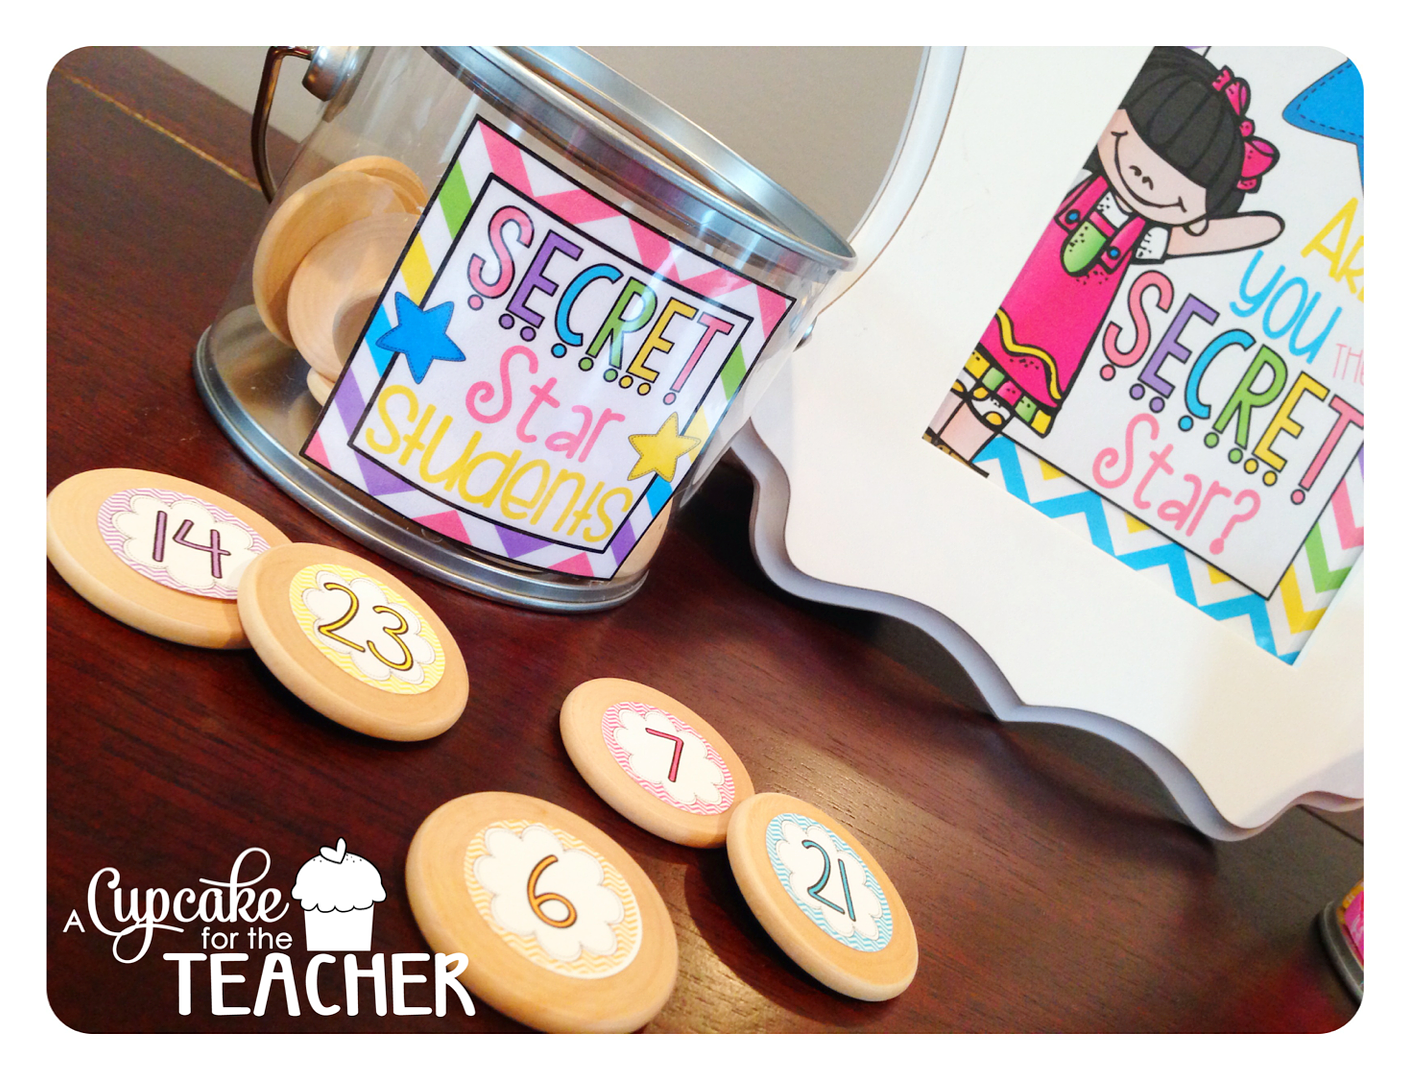
I've been working on these wonderful secret walker chips for my classroom. I plan to also use these chips for other purposes such as picking students randomly to help me, answer questions, deliver something, etc. I plan to have two buckets a draw and discard bucket. I also plan to have a container for the incentives that I plant to give out which are positive notes home. 

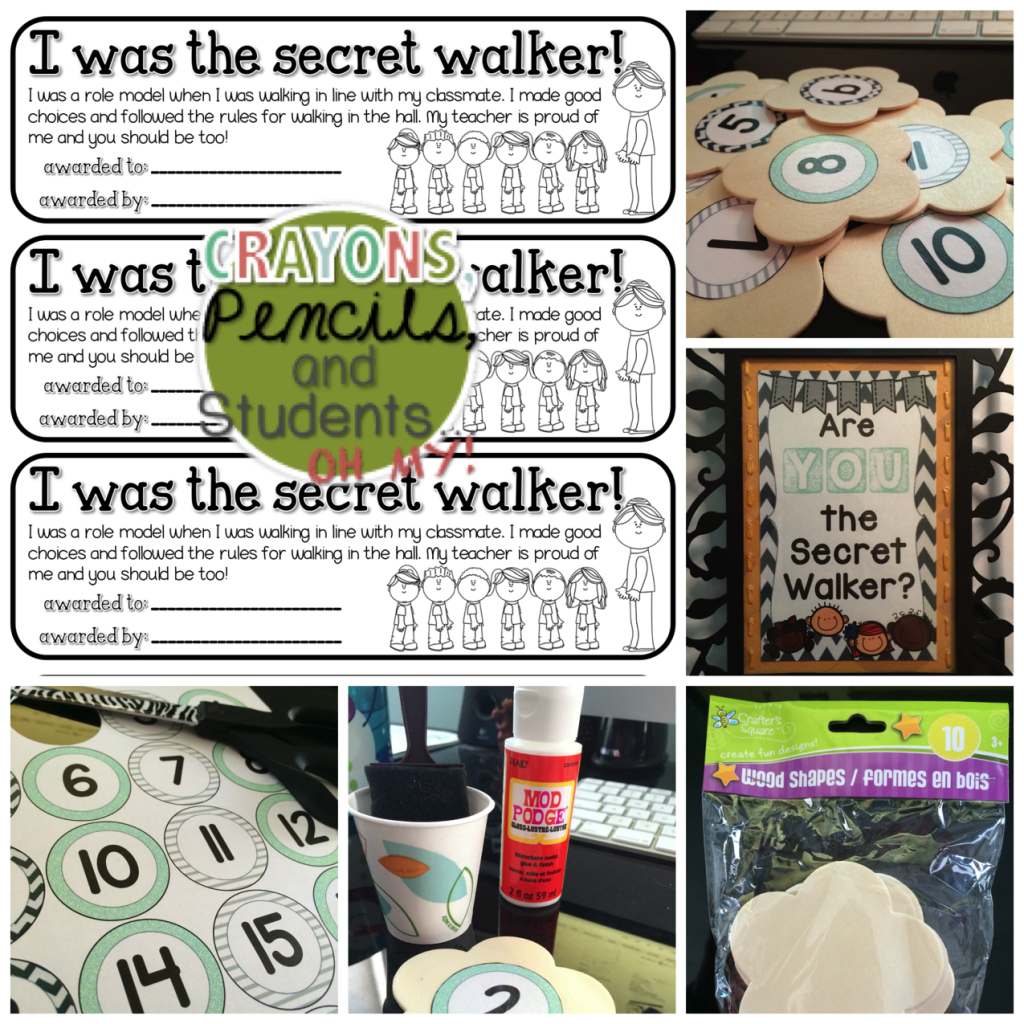
I found this amazing idea from Teri over at A Cupcake For the Teacher. You can find the blog post here. Here's a quick look at how she runs her secret walkers. 


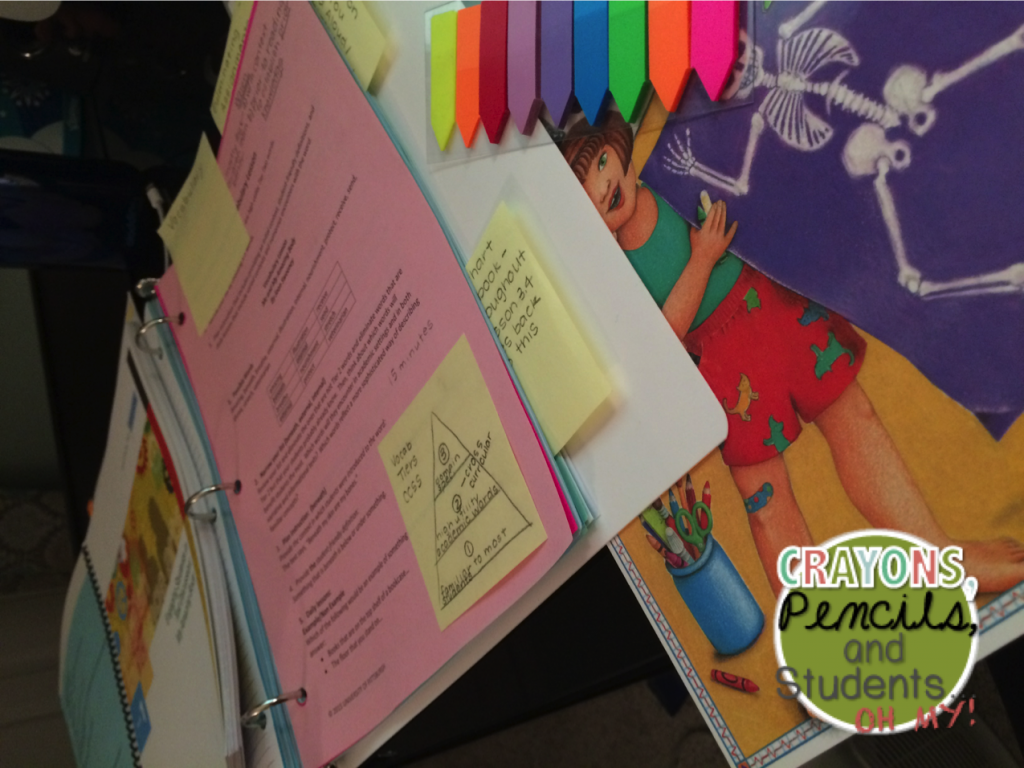
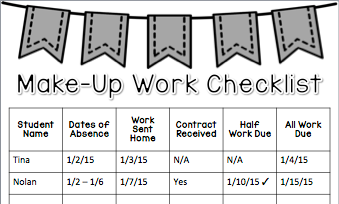
Today was our professional development day. Our school district implemented the Institute for Learning's (click on link for more info) - Our Amazing Body unit plan for our science curriculum. The unit is extensive and will take about a month to teach - to help us prepare they have given us 3 training sessions to help us better understand the unit and become familiar with the best ways to implement it in a first grade classroom. The unit uses these three books and I actually seem to really like it so far and think the kids will too! 
       

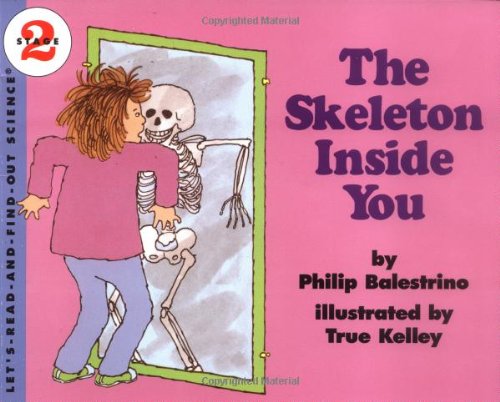
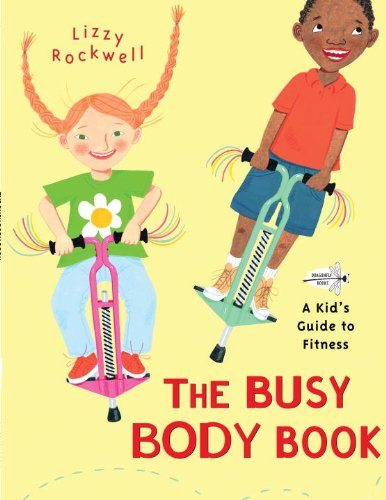
I will have more information when we start it in May. Here's a sneak peak:


Have you ever heard of OREO writing?!?!? If not you must read on... A teacher introduced me to the idea today at our PD day - holy moly is my mind blown! Well when you are writing an opinion piece you have the kids think about an Oreo as they write. This visual from Michelle Tomasewski's TPT store says it all - just take a look.


I am planning on creating my own materials to go with this concept and they should be up soon on my TPT store and maybe a blog post for them too.


I gained my first follower on my Tumblr today! This was very exciting for me.. If you're interested in some outfit ideas for teaching head on over and check it out! -> Teacher Clothes OH MY!


Happy Weekend everyone! More to come soon.

post signature


Saturday, January 24, 2015

Sick Students and Germs Galore


I'm not sure if any of you have had this problem lately at school but the kids are dropping like flies from the flu this year. On top of the flu there is a nasty cold going around at one of the schools that I work at and it is effecting the kids and the teachers. I'm just crossing my fingers that I don't get sick.

One thing that I swear by is Bath & Body Works' spray hand sanitizer. I love using the pump hand sanitizer too but it just dries out my hands so badly. I recently found this beauty during their semi-annual sale. I picked mine up for $3 - which I now view as a steal after using it for a few weeks as it seems to last much longer than traditional hand sanitizer. One other thing I like about it is that it dries so quickly - much faster than the gel type. You can get yours by clicking on the image below!


I often find it difficult to find a organized and nice way to send home work to a sick student. I saw so many students out this week that I decided I must come up with a solution to this problem. This led to my creation of the sick letter. 


Now, I do not send home the second page for students that have only been out for a day. This page is for the students that have been out with the flu for over a week. I find that it helps both me and the families to have dates to strive for when completing back work. I also don't want the student to fall too far behind because the work then becomes busy work and the practice isn't worth while. I also send this second page home when a student is going to be away for an extended period of time. Here is what that page looks like:

And last but not least - to keep myself sane and organized - a checklist to keep track of all my sick and vacationing students and their work. 


I use this checklist with every type of absence- so some columns will be listed with N/A if a student was only absent for one day. Here is an example of a few of the columns filled in. (I normally hand write on my checklist - I have multiples printed out and placed into a folder.)


This keeps me accountable for sending work home and then keeps me up to date as it comes back in. I add in the date that the work is due and then check it off when the students hand it in. As a way to congratulate the students for getting all their work done they always get a competition card when it has all been handed in. So as soon as I see a check next to all work due I will send home a competition card that looks like this. 


The students feel very successful when they receive this card and it makes them proud of all the work they did. It also allows the parents to see that all that make up work is competed and they are back to their normal amount of homework.

If you are interested this packet is available on Teachers Pay Teachers for $1.50! Head on over to my store to check it out.


How do you deal with make-up work? Let us know down in the comments! 

Thanks for stopping by! Have a wonderful weekend.
post signature


Monday, January 19, 2015

Task Cards 101 & a Freebie


I am so excited I discovered these bad boys! Let me let you in on a little secret - I literally just graduated - December 2014 - That's less than a month ago folks... and prior to 2 days ago I had never even heard of such a thing as TASK CARDS. Well let me tell you, my eyes have been opened, and I am in awe of these little wonderful tools.
After my first discovery I decided that I would need to do my research - AKA stalk the teacher blogs :) If you saw my last post on my TPT sale here you would have seen I was amazed by the collection of task cards Working 4 the Classroom had - seen in her post here. Also check out Pro Teachers and there task cards - there are SOOOO many at - you can get the compiled list complete with links here
Next to help me out was Task Card Corner - the name says it all ladies and gents - for information on task card everything this is the place to go! Mary's teaching blog is entitled, Teaching with a Mountain View - also some great stuff over there, but I was focused on her task cards so I didn't look much there yet.
       

So anyways, I was going through all the information on this site - all of which is great - but I stumbled upon the fact that Mary uses task cards for... wait for it... early finisher work! GENIUS! I do not think I dislike anything more than busy work - for those few students who always finish early I think this is a wonderful replacement to, "Go grab a book and read for fifteen minutes." Now, don't get me wrong - reading practice is a must - but being told to go read all the time gets old quick. These cards look fun and interesting - something the kids will be excited about.

Now here's where it gets tricky, the kiddos are going to be so excited to do these "fun" activities that they will rush through their work - leaving you with sloppy papers and students slacking on their effort. Here's the solution - Folders to push accountability. Check out Mary's blog post, Early finisher Task Cards: Beyond Busy Work! Here are her Incomplete Work and Early Finisher Folders - complete with a Work Log (the answer to our tricky problem)!


She has this available through her blog post linked above for free through a google document link. I went ahead and used this for inspiration to create my own that I thought would fit my classroom best. Now many people hang their task cards on flip flip flop holders like this one available on Amazon. You can get it by clicking the picture to the left. It's $10. Basically you put the task cards on rings and hang them up, flip the cards as you use them - pretty easy. 
Now, I'm not using this method. I'm not sure why but I just felt like I wouldn't like it - don't ask me, sometimes if I have an idea I just need to try it out. I will be using my task cards in a pocket chart like the one to the right, also available on Amazon, just click the picture - it's $10 also. Yes, I am aware that it is for scheduling but I think it will work as all the task cards I created are about 3x4. 

This brings me to my next piece of business - what I created thanks to Mary's inspiration. Here it is, folder cover, work log, folder pocket labels, and labels for task card topics for the pocket chart. You can get these for FREE over at my Teachers Pay Teachers store here. The task cards will also reside in the pocket chart when as we use them and you can see more about them here.

Last bit of information - Organization! Mary from Task Card Corner also gave me wonderful ideas for that. Head on over and check her out. The blog post that helped me out was Task Card Storage & Organization Coupon holders to the RESCUE! Check out Mary's b-e-a-u-tiful solution.

Isn't it just gorgeous?! You can pick up really cute coupon organizers in the dollar spot in Target or at the Dollar Tree - two of my most favorite places. Here is a link (click the photo below) similar to the container Mary found in Target, available online at Target for $7.99.
Check out my Pinterest Board - Task Cards for all of these links and more - and for continued updates on all things Task Cards (my new addiction!)


Sunday, January 18, 2015

Teachers Pay Teachers Sale & Task Card Talk!


In honor of Martin Luther King Jr. day tomorrow I am hosting a sale at my Teachers Pay Teachers store. Head on over and check it out - Everything is 20% off! 
I have been creating a TON of new products this weekend! One thing that I have really been focusing on and been uploading frequently to my TPT store is task card packs. I recently have discovered these beauties from various bloggers and TPT sellers and decided to create a bunch of my own that I could use in my classroom.

This blog led me to see how huge your card collection can grow!

Seriously check out this post 

From Flip Books to Task Cards... This is How We Do It!!

But the best piece of information I gained was the link to Pro Teachers - http://www.proteacher.net/ Now this is a free site, but you do have to sign up with an e-mail that you can access to activate your account. After you activate the ideas and free task cards are ENDLESS! Seriously - You need to dedicate a good hour to look through the materials - then time to make your own... or you could spend your whole Sunday downloading, creating, and searching like me :) 
Here is the link to the task card list that Heather from Working 4 the Classroom shares - it is the absolute best! Pro Teacher Task Card List (by subject area and topic)

There will be a post on these soon so I won't talk too long but I do want to say that the packs are all in black and white. - I did this to save on ink as printing is limited in my school district and black ink is cheaper! Here's an example from the Make a List pack.


I will print out each of these packs on different colored paper and laminate. Hopefully this will work for you too. In the meanwhile here are just three of the most recent sets I made. 


The sale is on currently and will run through Monday night at midnight. I hope everyone enjoys their well earned day off tomorrow! 

post signature

Tuesday, January 13, 2015

Anchor Charts - My Process

So all this talk about anchor charts really got me thinking about my to do list. Last week I started mapping out what I need to do to meet the curriculum maps for April till the end of the year in ELA.

When I do this I make a list of books I need to gather, anchor charts I need to make, and any centers, writing prompts, or work pages I need to create. I decided to tackle the anchor charts first. So far I've only accomplished 1 of 4 that I need to create for April ... But I felt accomplished so I thought I would share it with you and give myself a well deserved break :)

I decided that since I was going to share I would give you a quick how to based on my process for creating anchor charts. So here we go!
Now, like I said before I just start whipping these bad boys out there is planning to do. The first step is to write down the topics on my first to do list. For April these topics included, finding key events in texts, predicting, writing drafts and revising, and writing summaries using temporal words. And yes folks, that's 1 topic per week - add in spring break that's already one week with 2 topics - OH MY! I decided to tackle predicting first, well, because it seemed the easiest to me. 

So I moved on to work with my trusty friend Pinterest! That lovely photo of my chicken scratch (not my normal handwriting!) is what my Pinterest research turned into. What I do is search my topic then I write down key words or phrases that I liked from various anchor charts posted on Pinterest by all of you lovelies. I then compile this mess into the anchor chart that you will see below. Now, this may not work for everyone, but this is the process that works for me. Next I sketch out my poster in pencil and then go over in Mr. Sketch markers (MY FAVORITE!!!).

 Now, here's what the finished masterpiece looks like. I choose two colors that are for key points. Here I chose purple and green. Here I used purple to highlight the topic, predictions, and I used green to highlight the steps and key vocabulary. Then I will go back through and highlight anything else important in yellow - usually sentence frames like here. I try to add as many visual pictures as possible because they help the students remember the steps quickly. 

If you are interested here is the link to my Pinterest page that contains many anchor charts that I have used to create some of mine. One last bit of information - I would highly suggest purchasing a good art eraser for your anchor charts. I use a Staedtler Mars Plastic one. This helps so that your marker doesn't smudge and there aren't pencil smudges left when you are all done. Hope this was helpful! Enjoy the week!

post signature

Monday, January 12, 2015

Focus Wall Freebie

Do any of you ever look around the classroom and think, wow, this is a disorganized mess! I do all the time! I hate it! I am a very organized person and often find that things that hang on the wall simply make the room look messy and unorganized. I realized that sometime I am not even sure what the posters in the room are about. Now if I can't figure it out then my students most definitely cannot figure it out! My solution you might ask? LABELS! I decided I would start with math materials. Anything that I hang must fit within the parameters of my labels (what I deemed important in my classroom) and they also must fit on the space on the wall under these labels.

Another decision I made after I created these labels was only 1 anchor chart would hang at a time. I decided that they really loose their value and interest when there is more than one up - and really we only tackle on topic at a time so there is no need for more. See that label? No s! That means I'm really sticking to it - ONLY 1 ANCHOR CHART :)


What I really want to do is something like Teaching My Friends did. You can check out more here! An Anchor Chart Binder?!?! That's GENIUS!

Over Spring Break maybe I'll tackle that! As for right now here's my freebie link over at Teachers Pay Teachers.


How do you organize your visuals? Leave a comment and let us know!

post signature

Monday, January 5, 2015

Currently


I hope everyone's first day back went wonderfully! I can't wait to get back into the swing of things, getting back into a routine is always difficult for me. 
post signature