When I do this I make a list of books I need to gather, anchor charts I need to make, and any centers, writing prompts, or work pages I need to create. I decided to tackle the anchor charts first. So far I've only accomplished 1 of 4 that I need to create for April ... But I felt accomplished so I thought I would share it with you and give myself a well deserved break :)
I decided that since I was going to share I would give you a quick how to based on my process for creating anchor charts. So here we go!
Now, like I said before I just start whipping these bad boys out there is planning to do. The first step is to write down the topics on my first to do list. For April these topics included, finding key events in texts, predicting, writing drafts and revising, and writing summaries using temporal words. And yes folks, that's 1 topic per week - add in spring break that's already one week with 2 topics - OH MY! I decided to tackle predicting first, well, because it seemed the easiest to me.
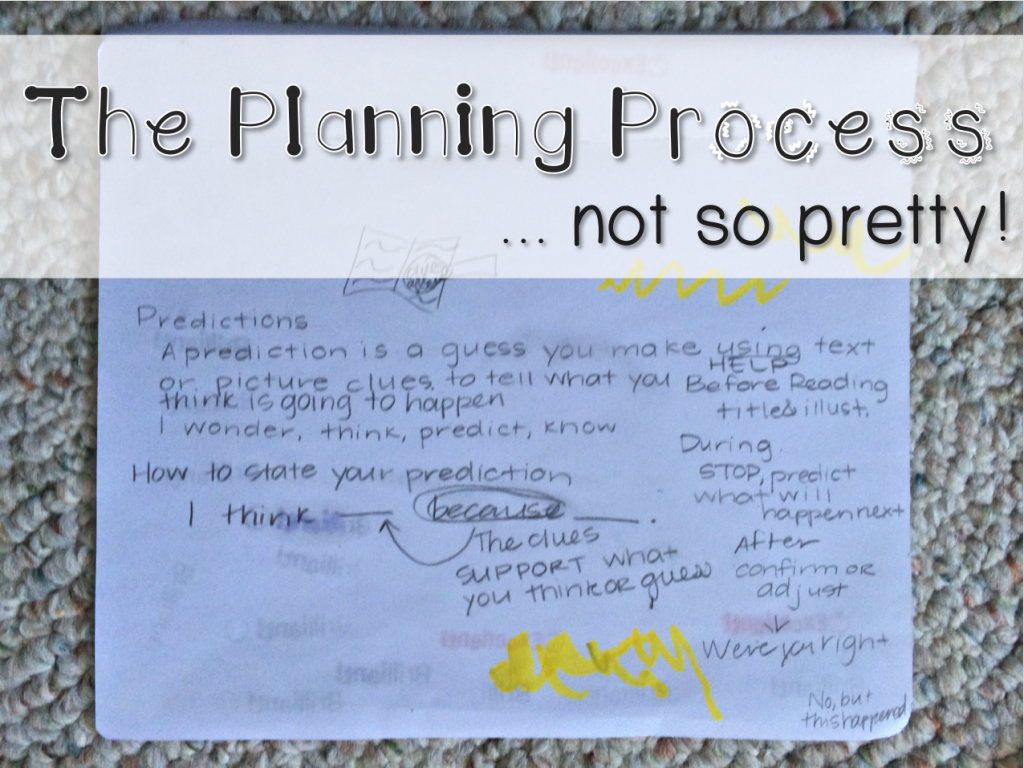
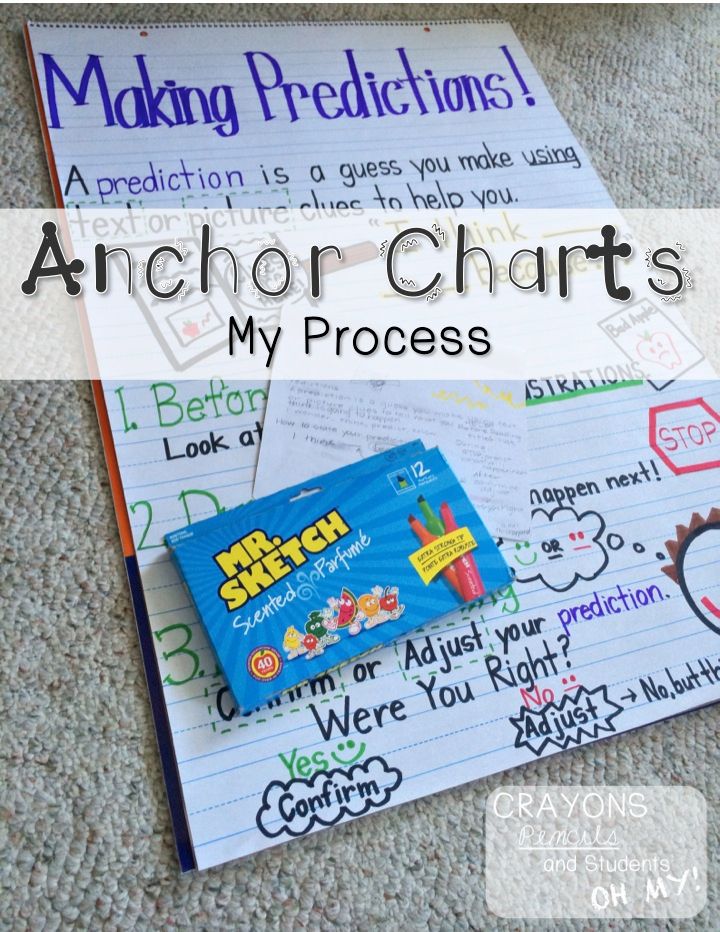
 So I moved on to work with my trusty friend Pinterest! That lovely photo of my chicken scratch (not my normal handwriting!) is what my Pinterest research turned into. What I do is search my topic then I write down key words or phrases that I liked from various anchor charts posted on Pinterest by all of you lovelies. I then compile this mess into the anchor chart that you will see below. Now, this may not work for everyone, but this is the process that works for me. Next I sketch out my poster in pencil and then go over in Mr. Sketch markers (MY FAVORITE!!!).
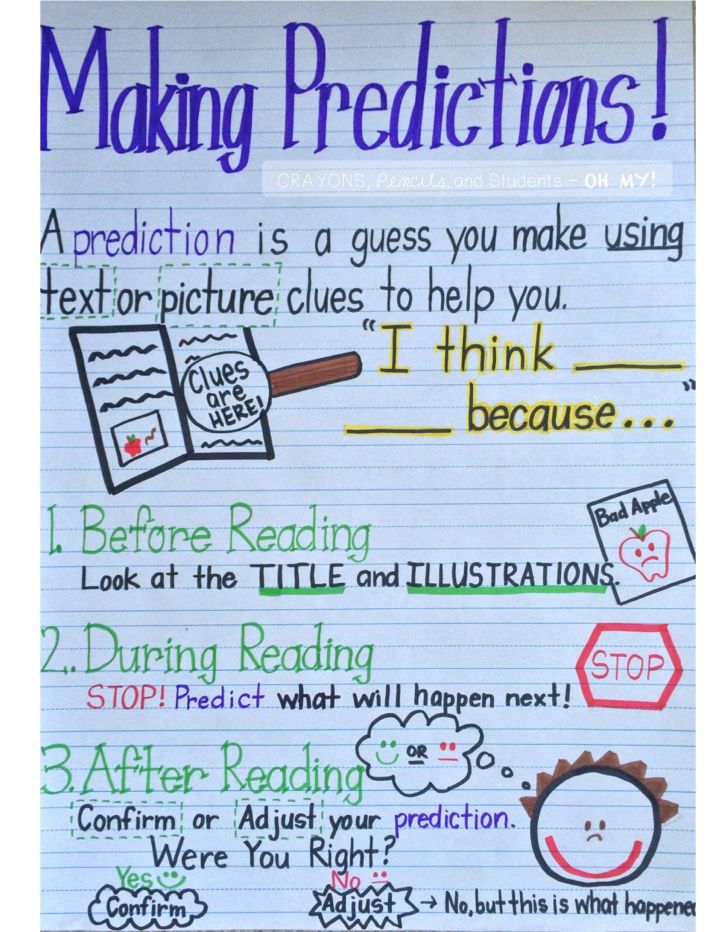
 Now, here's what the finished masterpiece looks like. I choose two colors that are for key points. Here I chose purple and green. Here I used purple to highlight the topic, predictions, and I used green to highlight the steps and key vocabulary. Then I will go back through and highlight anything else important in yellow - usually sentence frames like here. I try to add as many visual pictures as possible because they help the students remember the steps quickly.
If you are interested here is the link to my Pinterest page that contains many anchor charts that I have used to create some of mine. One last bit of information - I would highly suggest purchasing a good art eraser for your anchor charts. I use a Staedtler Mars Plastic one. This helps so that your marker doesn't smudge and there aren't pencil smudges left when you are all done. Hope this was helpful! Enjoy the week!


I love your chart and decided to use it for my unit this week. I'd like to share the image with credit on instagram. Do you have an account?
ReplyDeletei can't seem to access anything on your page - there's a ton of "Please update your account to enable 3rd party hosting" for all your images.
ReplyDeleteThis comment has been removed by the author.
ReplyDeleteThank you for sharing your ideas. I dont have the creativity to present these strategies the way you did. I would like to ask permission to use your charts. I will facilitate a teacher training in a remote are in the Philippines and your charts would be inspirational to create appealing visual aids
ReplyDeleteI love the ideas and points addressed. I am currently working on a project and you have confirmed my ideas to research the topics that I will covering. Thanks so much for all of your support!
ReplyDeleteJeanette Jones-Wilson
This is very educational content and written well for a change. the best school in delhi It's nice to see that some people still understand how to write a quality post!
ReplyDeleteDo you mind if I use the picture of your anchor chart in my teacher certification submission.
ReplyDelete