Showing posts with label Teacher Organization. Show all posts

Sunday, August 9, 2015

Student Data Binder


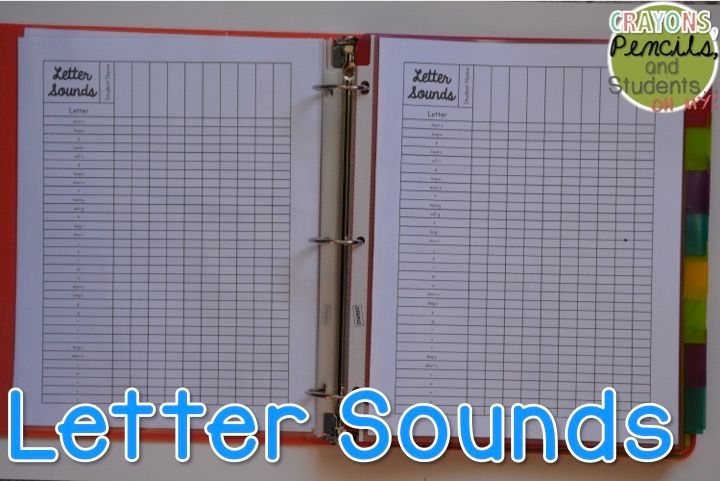
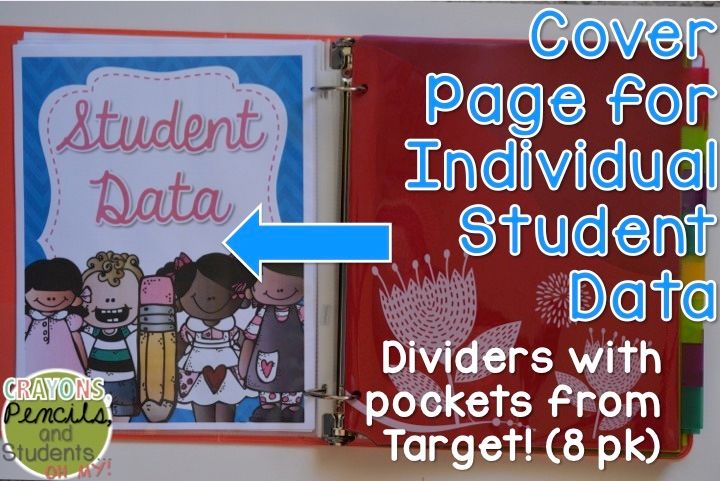
Today I wanted to share with you a look at my student data binder! It is currently available in my store sold by itself. If you are interested in buying the binder it is $3 and available HERE. It will also be available in a back to school bundle very soon!!
I really liked the way the video option worked for my teacher planner so I went ahead and made another for this Student Data Binder. So here we go; check it out below.


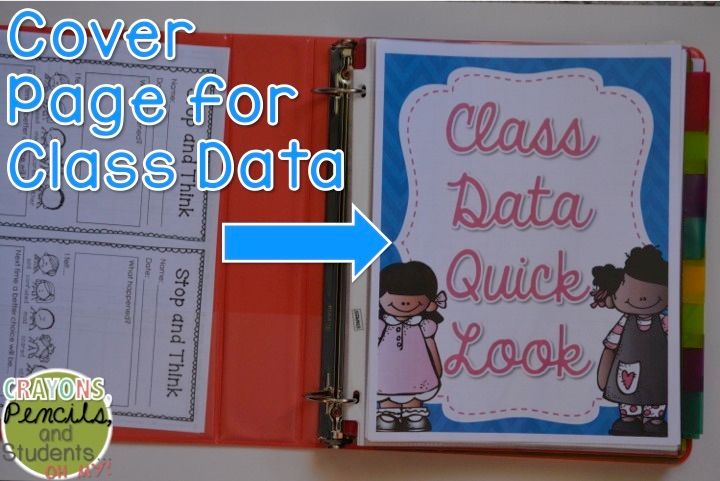
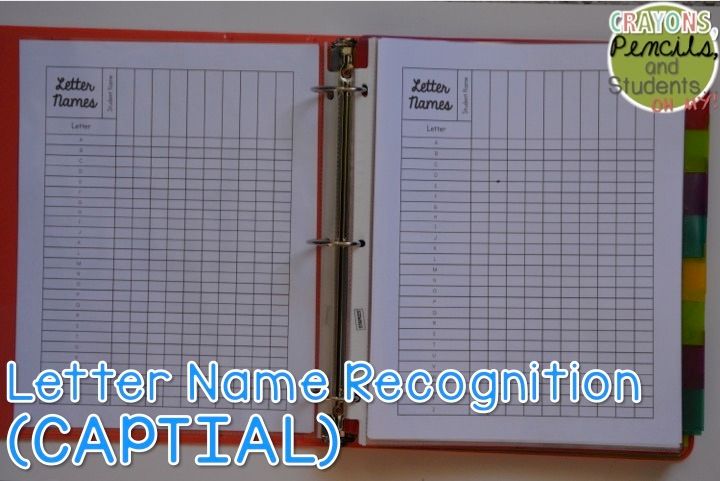
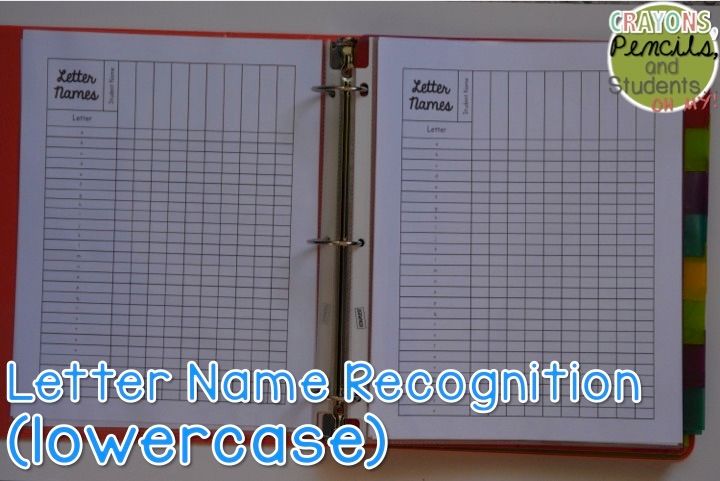
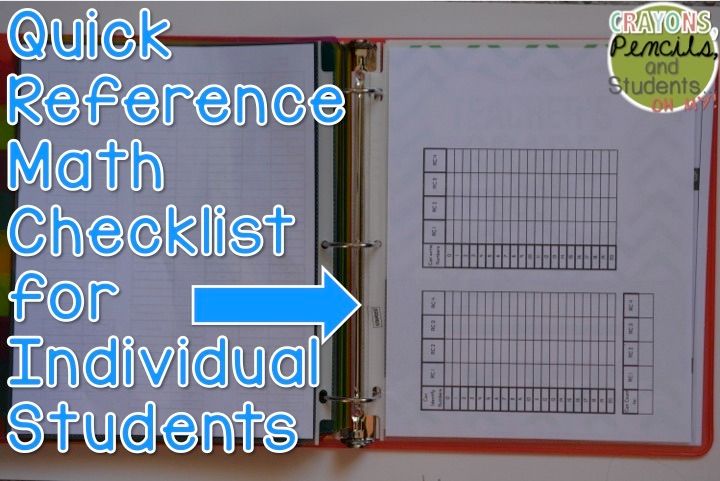
For those of you who would like another closer look or prefer a picture walkthrough rather than a video here's another look.


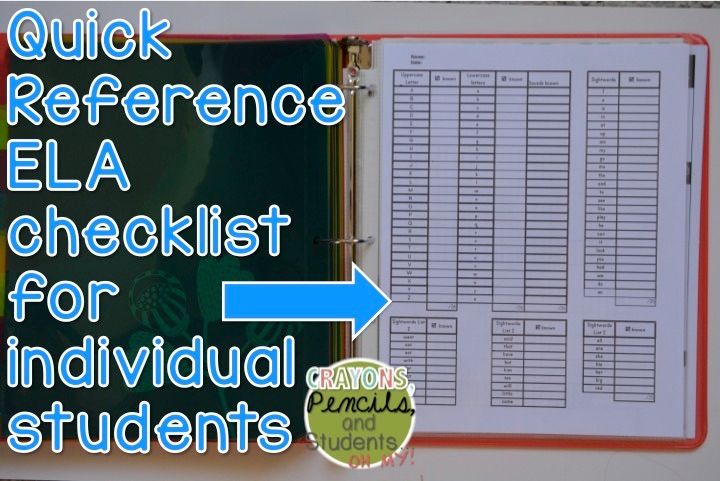
I keep multiple copies of the methane ELA checklists in the back of my binder in protective sleeves. When I assess a student I keep the most recent checklist in the pocket of their divider. When I re assess I then hole punch the older checklists and keep them behind the divider. 


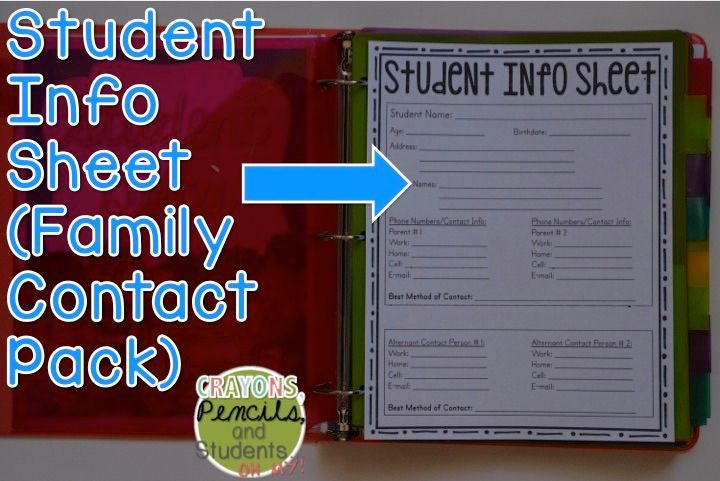
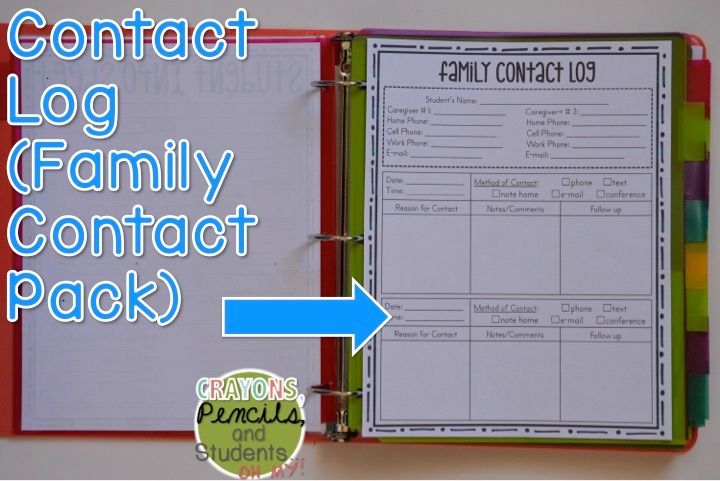
The following two photos are part of the Family Communication binder pack that is only available in the Back to School bundle on my TPT store (available soon). In the pack there is also a binder cover but I chose to include it in my data binder since I am working with Kinders the first part of this year and I won't have to anythings to keep track of in terms of assessments. I plan to hole punch these sheets and put them directly behind each students' pocket divider.


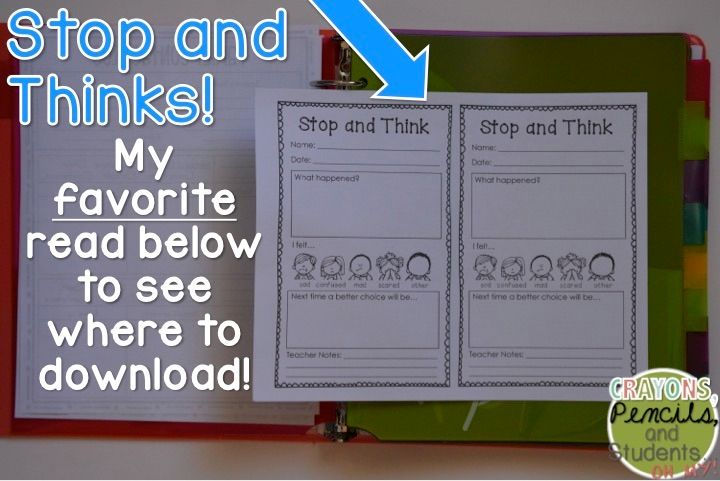
I love these! In fact my whole school loves them! I introduced them in my first grade classroom last year and now K-2 uses them exclusively for behavioral issues. I did not make these but you can get them HERE for free! (Scroll to bottom of the post) When I have a student fill one of them out I make a copy and send the original home. This year I plan to put my copy behind the student's divider tab. Read her blog post here to find out more information about this wonderful tool!

post signature

Sunday, August 2, 2015

Teacher Planner Walk Through 2015-2016


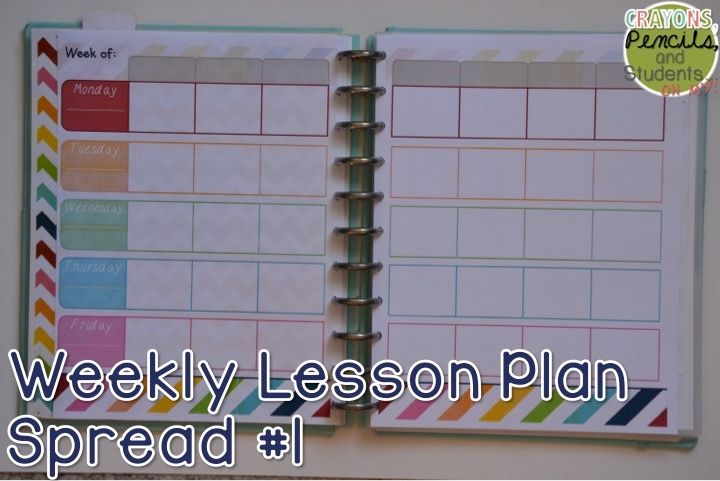
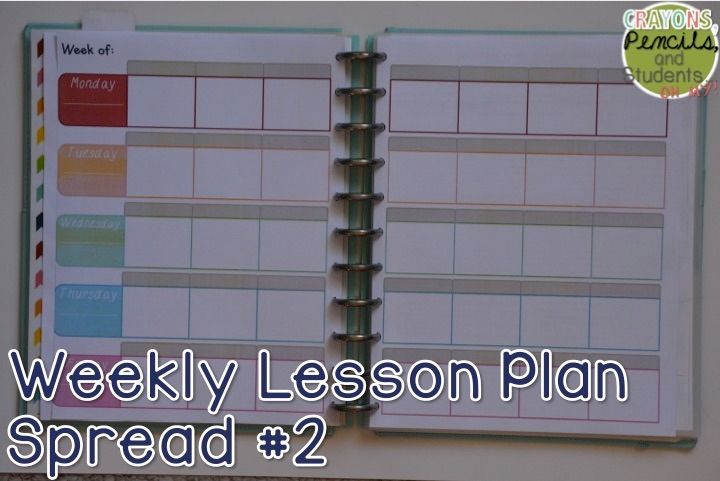
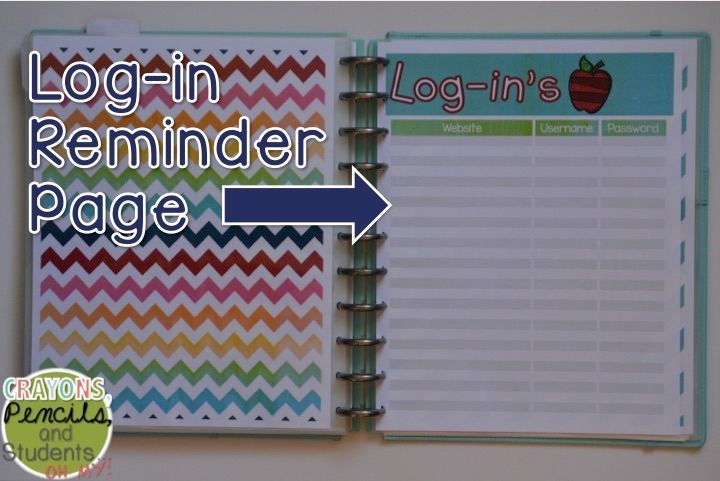
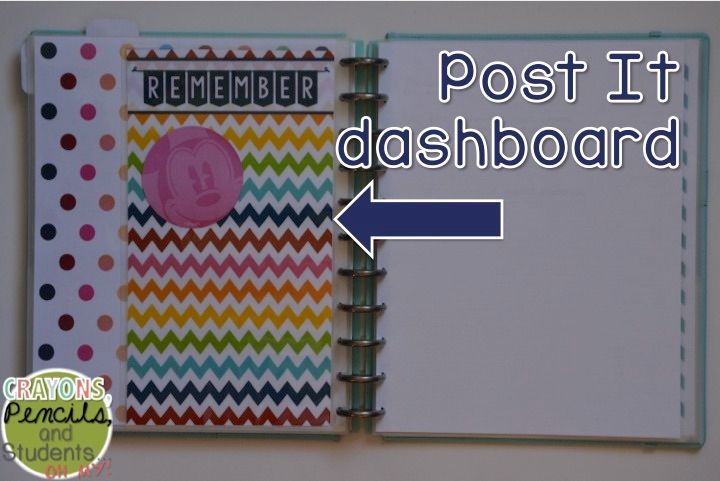
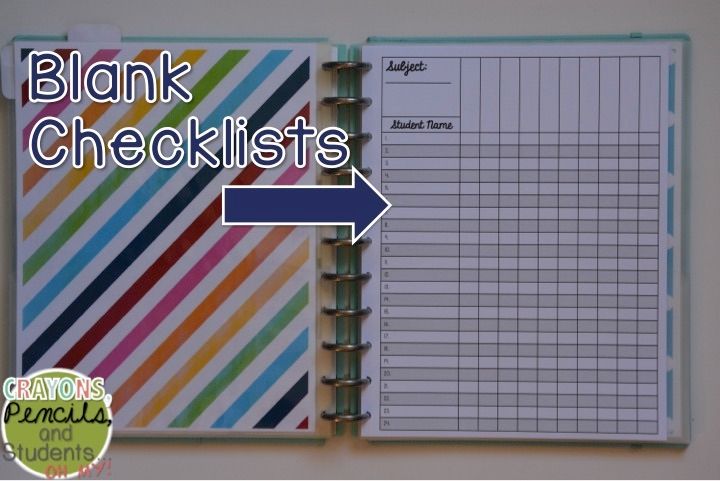
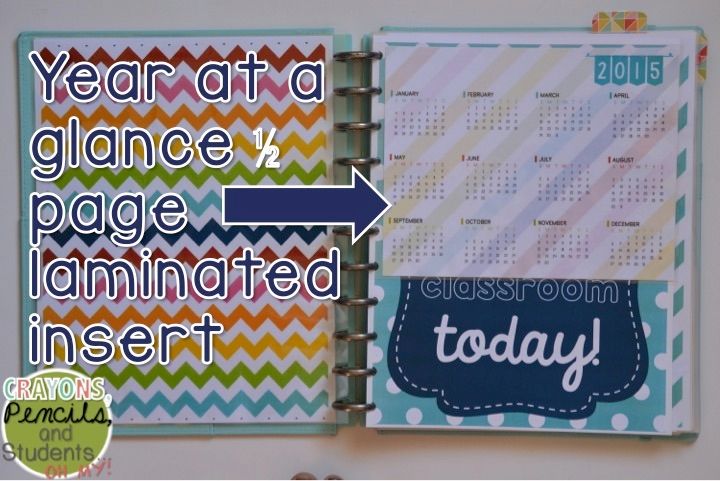
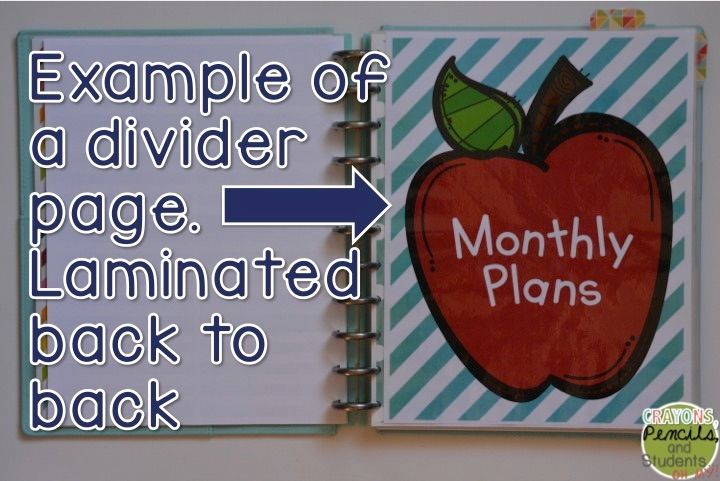
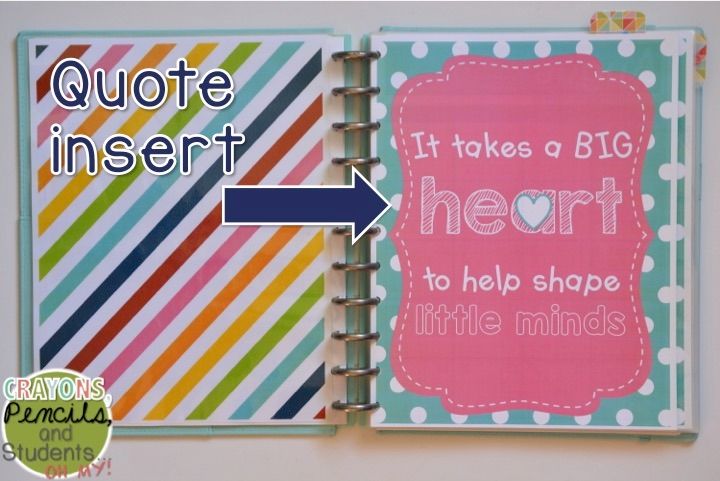
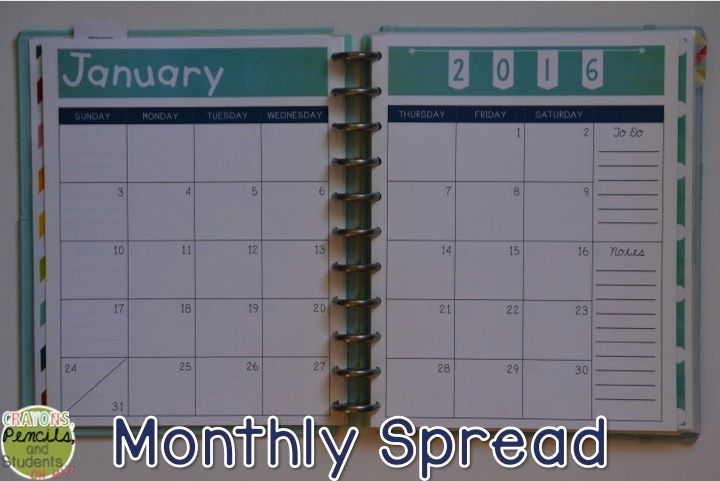
My teacher planner is HERE!!!! Finally :) You can pick up your very own copy here. I am so excited to be able to share it with you. I have even made a video to debut it. Here is a photo walkthrough and a video flip through of it put together for myself. It's a rainbow theme this year!

Here are the photos!


And that's the walkthrough folks! Not a lot of words, but the pictures really show you what the planner is all about. I hope you enjoyed it. If you are interested in purchasing the planner head on over to my TPT store! 
post signature

Sunday, February 15, 2015

Pinterest Overhaul


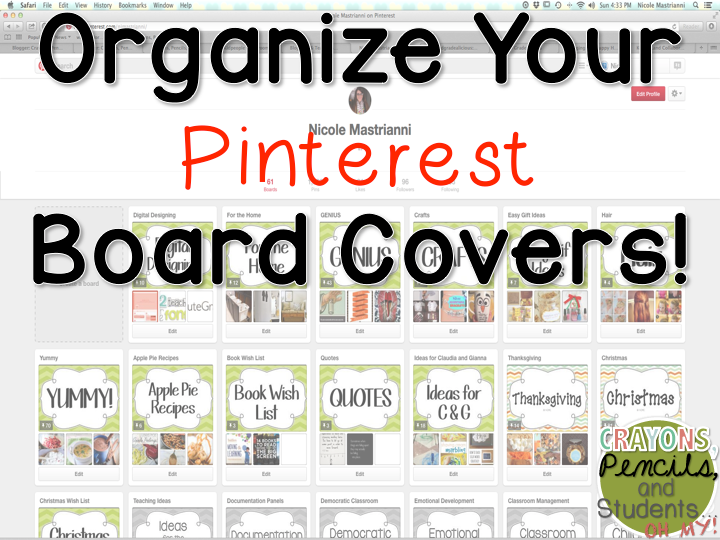
So I have been wanting to re-organize my Pinterest boards for a while now. The covers that I had made just weren't cutting it for me anymore and I had started several new boards that still needed covers so today I decided to overhaul all of them and start from scratch. This process took much longer than it had to though... I tried making these many different ways before I finally found the best way.
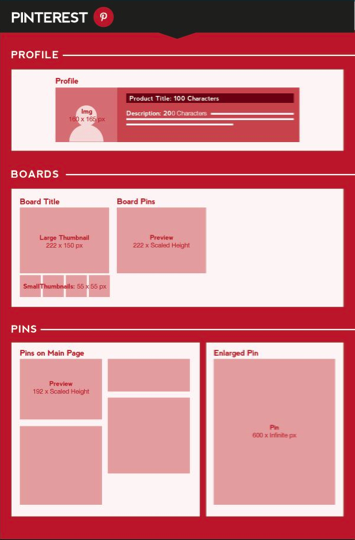
This is where I started. I found this wonderful pin with all the dimensions for many social media website. It is so helpful when designing aspects of your webpages! 

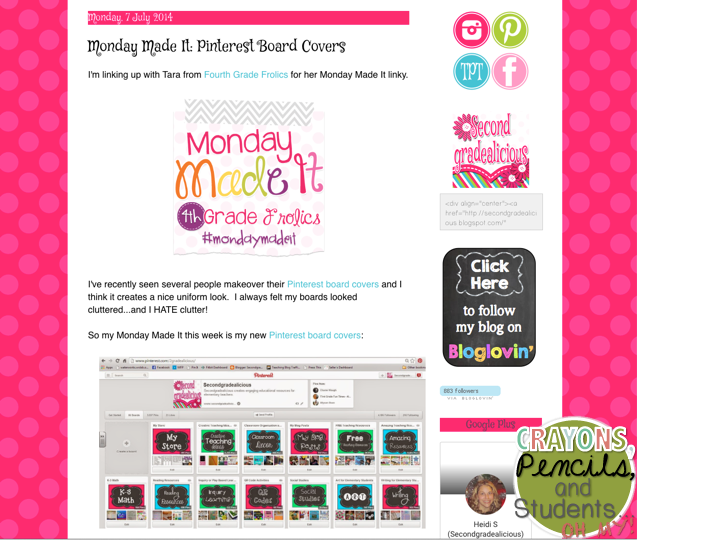
Now, I was planning on creating my images in Adobe Photoshop when I started but stumbled upon this lovely blog post before I got too far in!

Secondgradealicious

This blog post saved me so much time! I started making my board covers in Powerepoint right away. It was so easy - all I had to do was size the slides to 4.7 in X 3 in and then go to town with the cute fonts, backgrounds, and borders.


I am going to stop here for a moment for a side note, because in addition to finding the wonderful blog post I also found a wonderful link party through 4th Grade Frolics - Monday Made It! 

Fourth Grade Frolics


See my Monday Made It post HERE when it goes live 2/23!

Okay, back to business! I am going to guide you through the steps for the creating the Pinterest boards via the photos below. It's super simple - feel free to ask any questions in the comments below and I will do my best to help you out.

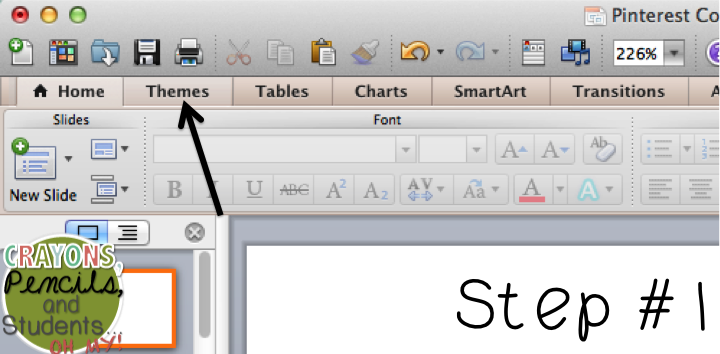
Click on Themes

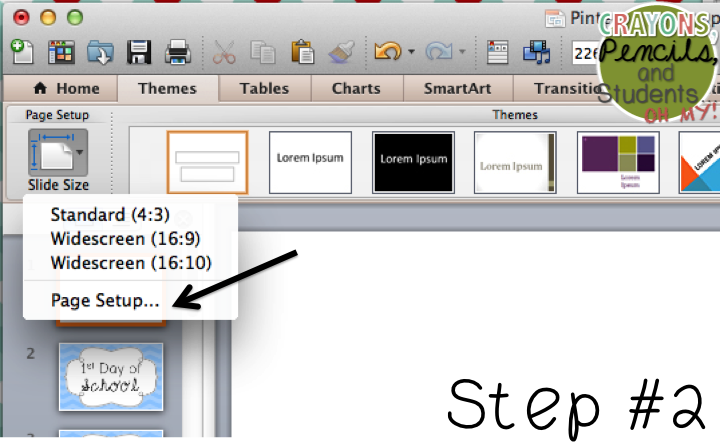
Click on Slide Size, then Page Setup on the drop down menu.

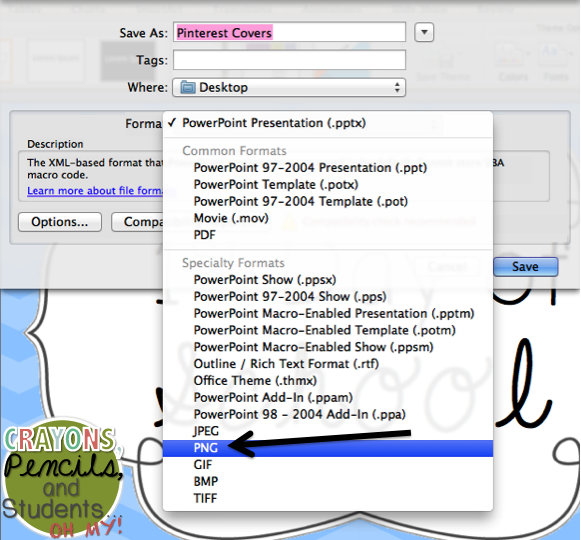
Click Save As, then choose PNG. Also save as a PowerPoint Presentation so you can go back and add covers for your new boards. 

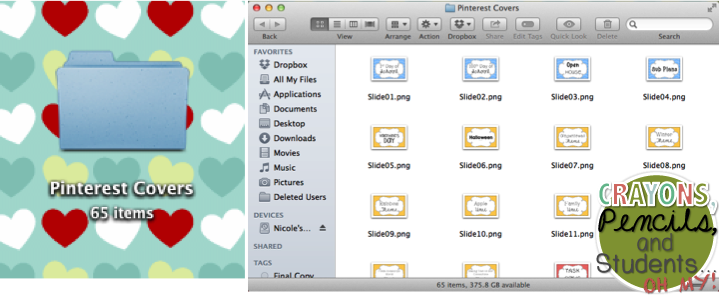
After you save it as a PNG file it will show up in a folder on your desktop and will look like this:

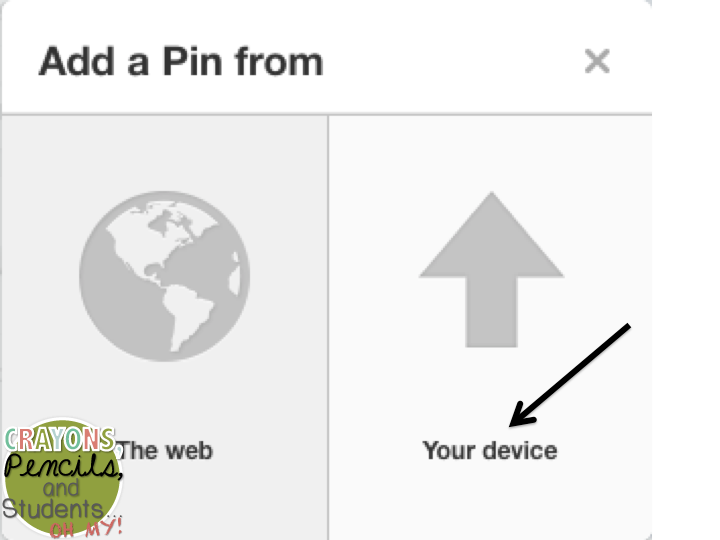
Next you need to log into your Pinterest account. Go to your boards and click on one. Click add new pin and this will pop up! 
You need to click on your device. It will allow you to upload a photo. Choose the correct cover from the file that was create with the PNG images in it. Give it a description and go back to your main page. 

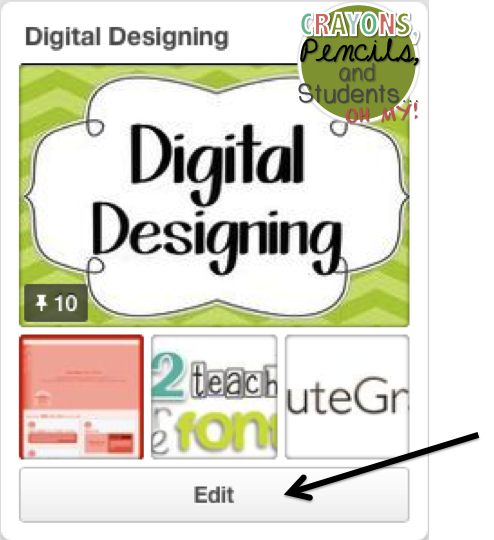
Click on the board you just added your cover to and then click on the edit button. 

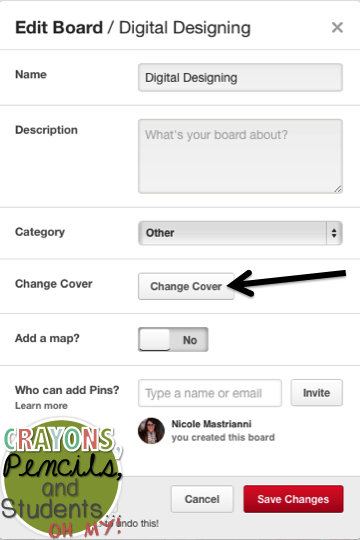
This page will pop up and you will need to click on Change Cover. 

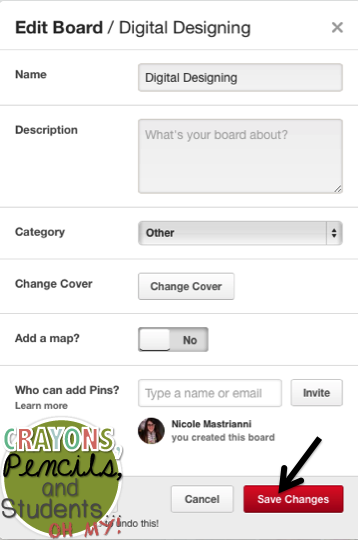
Choose your image you just added, then click save changes. 

You will see this screen again, but this time you will click Save Changes. And that's it! Repeat the process for the rest of the boards you have. 


Now, I do have one disclosure to make; this process takes FOREVER! It took me well over 2 hours to create all of them and then update the covers on my page. The good news is that once you do the overhaul uploading them will be quite simple and quick for new boards. My previous covers were made on PicMonkey (no way to save them in editable form) so it took much longer to create those for new boards and I quickly fell behind in my upkeep.

I did color code my boards to work for me mostly, but I also think that it will be helpful for my followers as well. Here's how I did it if you need some ideas:


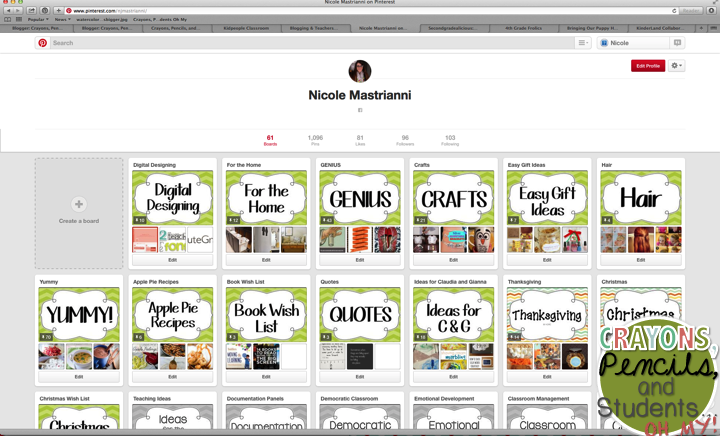
Check out the look of my Pinterest page now! It makes me smile :)


If you are interested stop over, follow some boards if you would like! I am always looking for new boards to follow - leave yours in your comment below!


post signature


Monday, February 2, 2015

Student Learning Objectives Posted in the Classroom


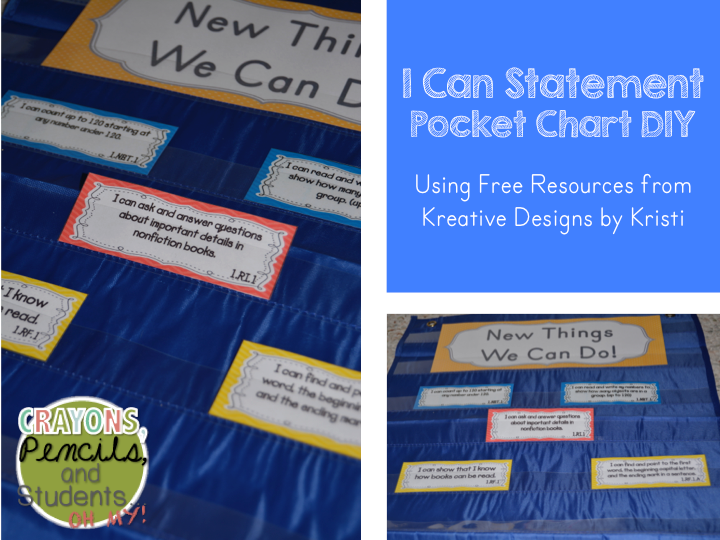
The school that I work in requires teachers to post Student Learning Objectives in student friendly language. I hate having to write them out every week, especially because many objectives are repeated over multiple weeks. I decided that I wanted a card system to use on a small pocket chart. This is what I came up with and I LOVE it!

I decided to look for I can statements on Teachers Pay Teachers that align to the Common Core Standards. There are many available, both free and paid. Once I decided I wanted a card system and knew that these were available I decided to use ones that someone else made over making my own because there was no need to reinvent the wheel on this one. I came upon some really nice looking ones for first grade at Kreative Designs by Kristi. 


And that became my first step in the creation of this pocket chart. I downloaded both the math and ELA packets and got started. These cards are also color coded which came in handy later on. Get the Math ones here, and the ELA ones here.

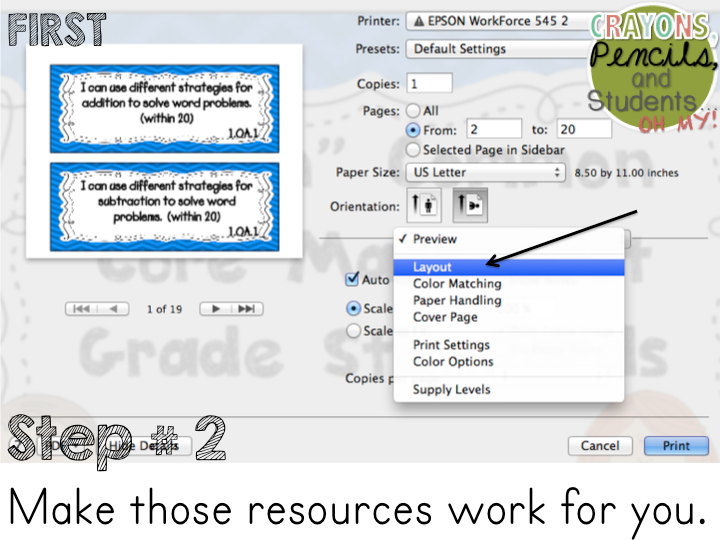
After I downloaded the cards I decided that I did not want mine to be so big. I knew that I would be using several of them each week - as I planned to put up I can statements for the whole week on Monday and then switch them out the following week. I knew that If I had kept them as large as they were when I downloaded them that I would have to take up a lot of space in my classroom. So I decided to shrink them down. This became my second step, making these free resources work for me so I didn't have to reinvent the wheel.

The first thing I did was click to print them I chose to print pages 2 - 20 of the math packet because I didn't need the title page. I then went to ht pull down menu (see arrow) and chose layout. This will get me where I needed to look to resize these cards.

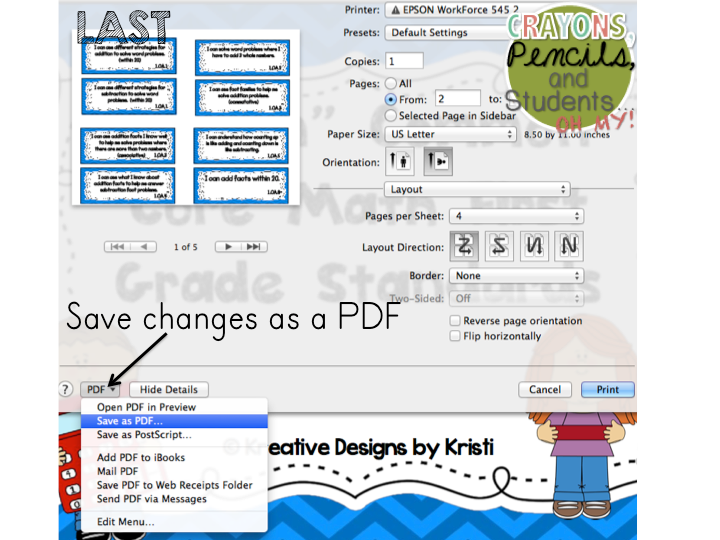
Next I changed the pages per sheet to 4. This will allow 4 of the pages in the packet to be printed on one piece of paper. Now, this saved me paper, ink, and space on my walls in my classroom - a win, Win, WIN! To make sure you have done it correctly the preview should show the shrunken cards like it does in the screenshot above.


Last I saved these changes into a PDF. This way if I ever had to print them out again I have them already set. I then repeated these steps for the ELA cards and printed them all out. After printing I laminated them all with my Scotch laminator which works like a charm - you can get one here! Then I cut them all out. They ended up being about 4x1.5 inches.

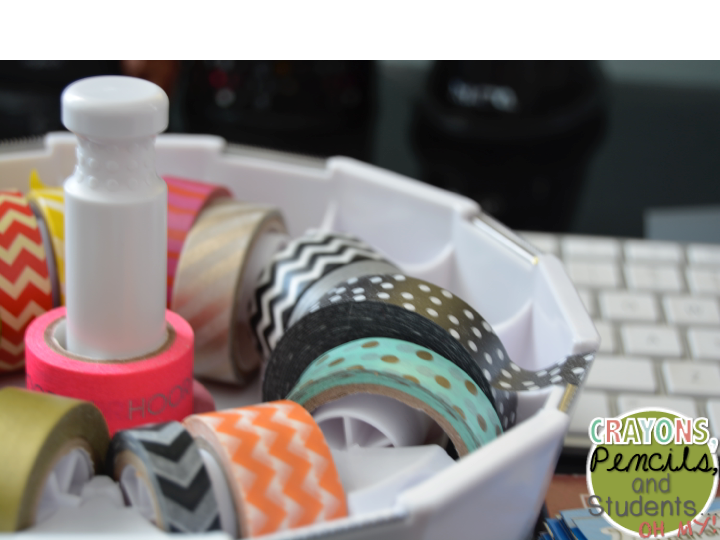
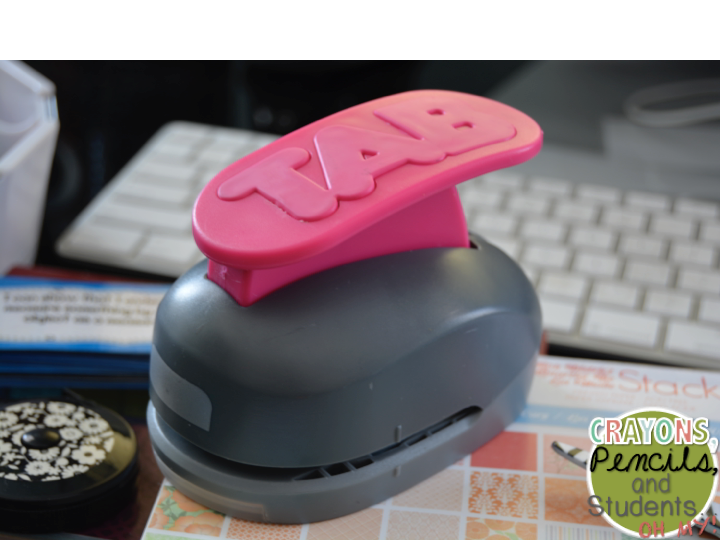
So after I had this huge stack of cards I knew I had to come up with some sort of organizational system for them. I remembered having this plastic index card tub and decided that that would be the perfect fit. But they needed a better way to stay organized within the tub, so the dividers were born. I looked to my trusty paper crafting supplies (p.s. I LOVE Project Life) and pulled out a tab punch, scrapbook paper, and some washi tape. 
 

- Note, if you do not have either of these you can buy plastic tabs for index cards and use nail polish remover to take of the pre printed letters, or you can cut them out yourself using a template online. I would highly suggest investing in a tab punch - I use mine all the time and more so for teaching things than crafting things. I like the ability to make tabs for any sized page and find it highly convenient. You can get it on Amazon here, but Michaels also carries it and you can use one of their coupons and get a 15% teacher discount (that's how I bought mine!)

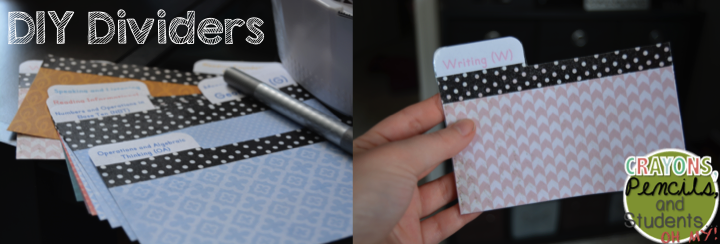
I typed my tabs up in a word document using text boxes. It came out pretty messy but it did not matter to me because I knew that I would be punching them out. I have included these in a free download through a google drive document for you. 


Then, I cut some colored craft paper to 3x5 and color coded it with the colors of my I can statement cards. I took my tabs and taped them to the top of the craft paper with wash tape and trimmed off the excess. I then ran all of these through the laminator as well for durability. They turned out like this:


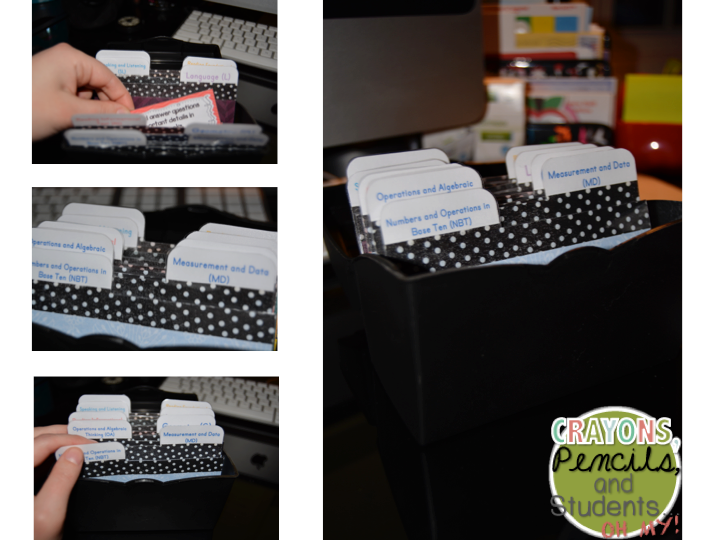
Then I piled all of my goodies into that index card tub that i "had". Well I thought I had one but could not find it anywhere. I still am 99% positive I have it but cannot find it. Anyways I got too fed up looking for it and finally caved and bought a new one at Staples. It was $3.50 which I thought was a tad much but I bought it anyways. While I was there I did find 50 CENT border on sale which made up for it. Here's what it looked like then.


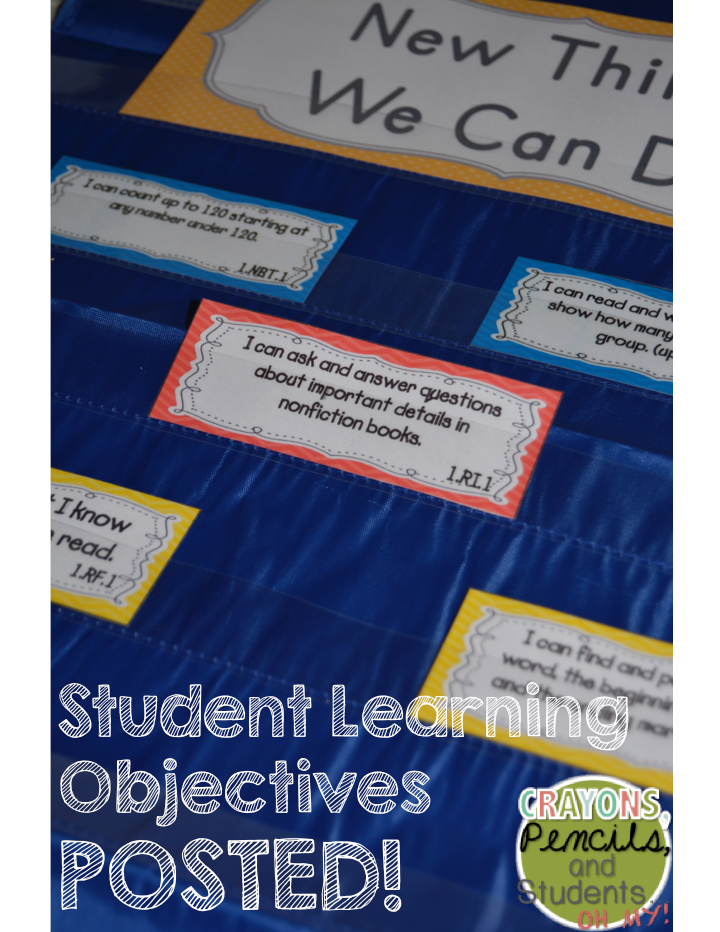
And I ended up with this as the final product and I am really happy with it. I actually found the pocket chart at a Target dollar spot a while back. I only purchased on because it was one of the things that was $3 instead of $1. Looking back on it I wish I had purchased more as it is a really nice size and I haven't ever seen any others this small. 


I hope this will help you if you have had some trouble figuring out how to post your objectives in student friendly language. As one last piece of information here are links to free downloads on Teachers Pay Teachers: 

Kindergarten: Math here, ELA here

First Grade: Math here, ELA here

Second Grade: Math and ELA here

Third Grade: Math here, ELA here

Enjoy! If you are in my area enjoy your snow day! Oh my goodness we have so much snow here and no plows have been through yet. It does look very pretty though. Happy Monday!

* An update, I just found out that the wording for these cards came from The Curriculum Corner. You can visit them by clicking on the link. You can also download their I can statement posters by clicking here.*
post signature